Hi there! I have just one week to finish this tween bedroom makeover for the One Room Challenge, and I still have a lot to do! Today, I want to show you an easy DIY built in bookshelf project.

First, I want to give a shout out to my husband who did the majority of the construction work here as well as my kids who helped out from time to time. Thanks, guys!
Since we want these to have a custom built-in look, there are a few tips I want to share to help you achieve that look.
*affiliate links used, read my disclaimer here
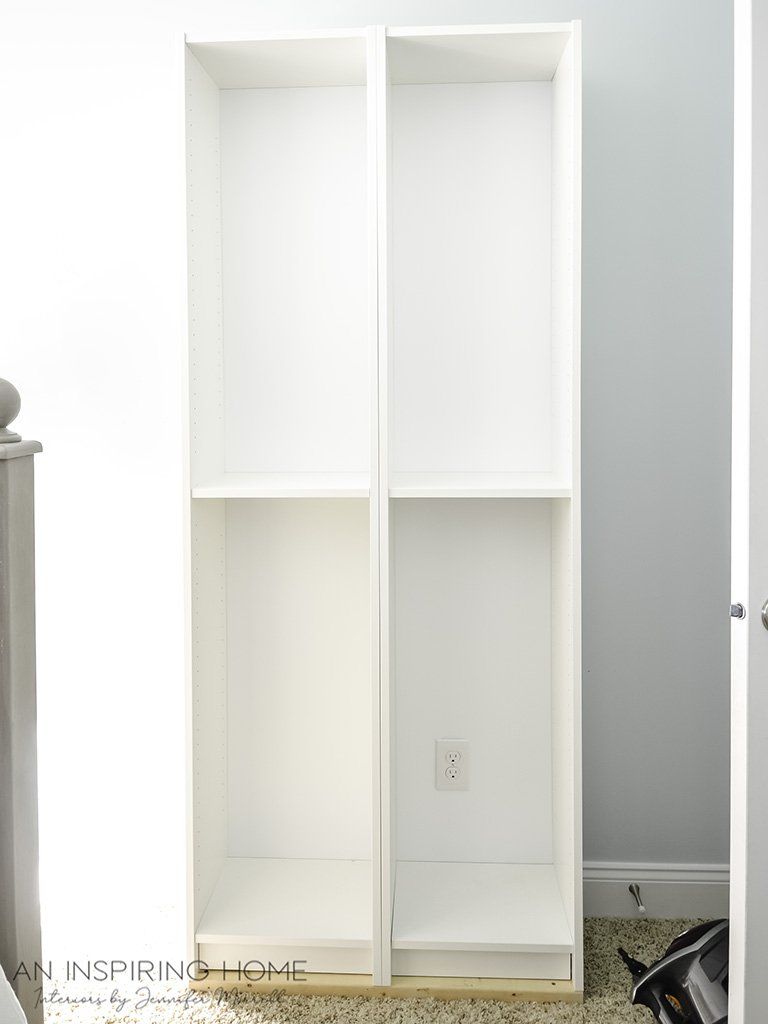
For this project, we used IKEA Billy bookshelves for the built-ins. I love custom built-ins, however, ready-to-assemble bookshelves work great for my kids’ bedrooms. We’ve used these before in two other bedrooms.
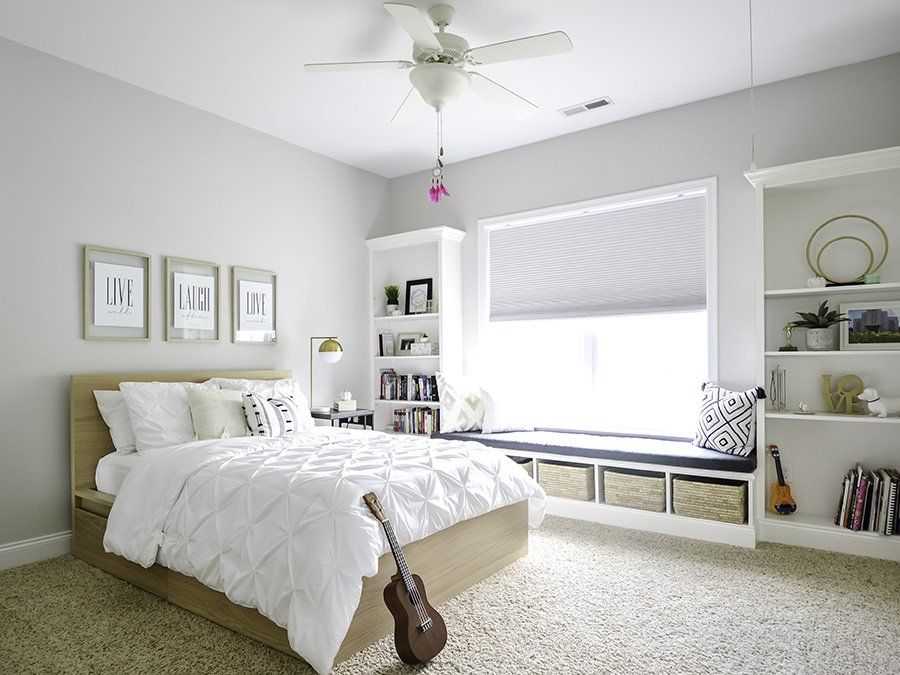
Read more about this teen girl bedroom makeover.
Originally, I wanted two of the 31” wide bookshelves, but my local IKEA was out of stock, so, I decided to use four of the 15” wide bookshelves.
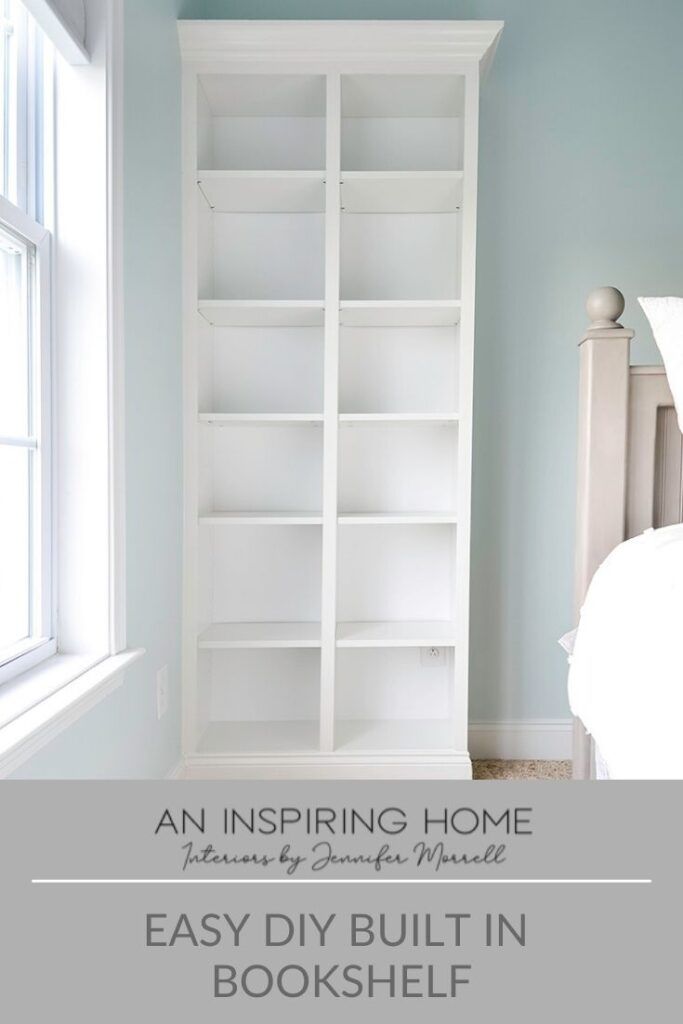
HOW TO: EASY DIY BUILT IN BOOKSHELF
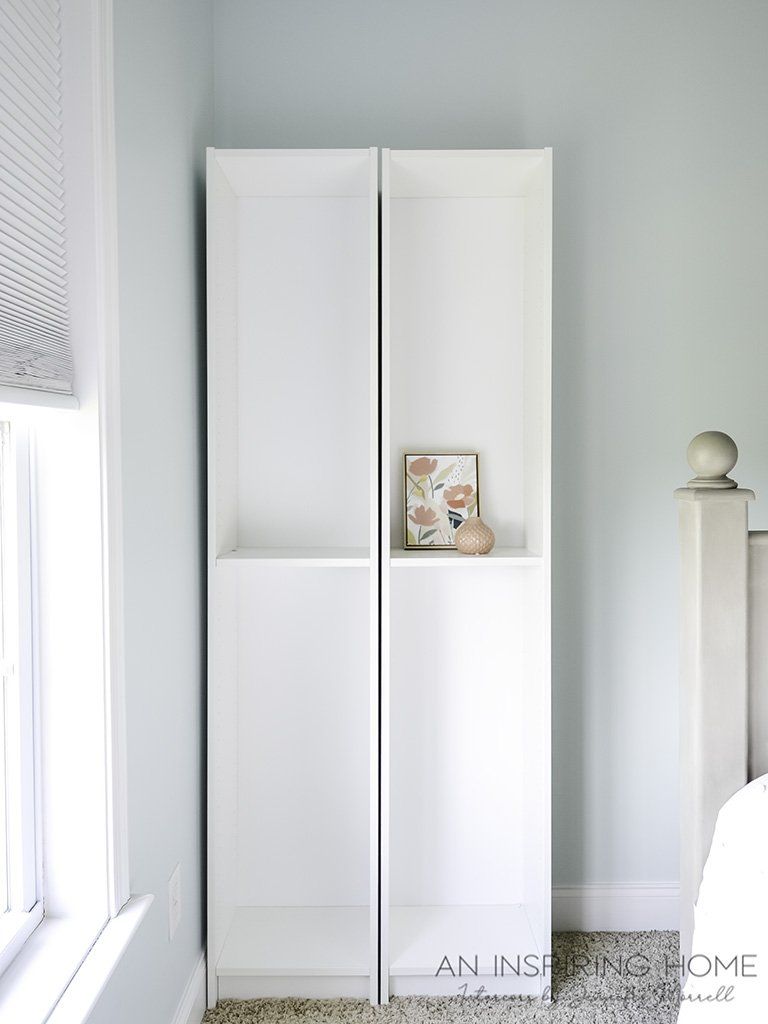
First, assemble your Billy bookshelves according to instructions. It’s pretty simple. My husband and I knocked out each one in about 20 minutes. We will have two on each side of the bed.
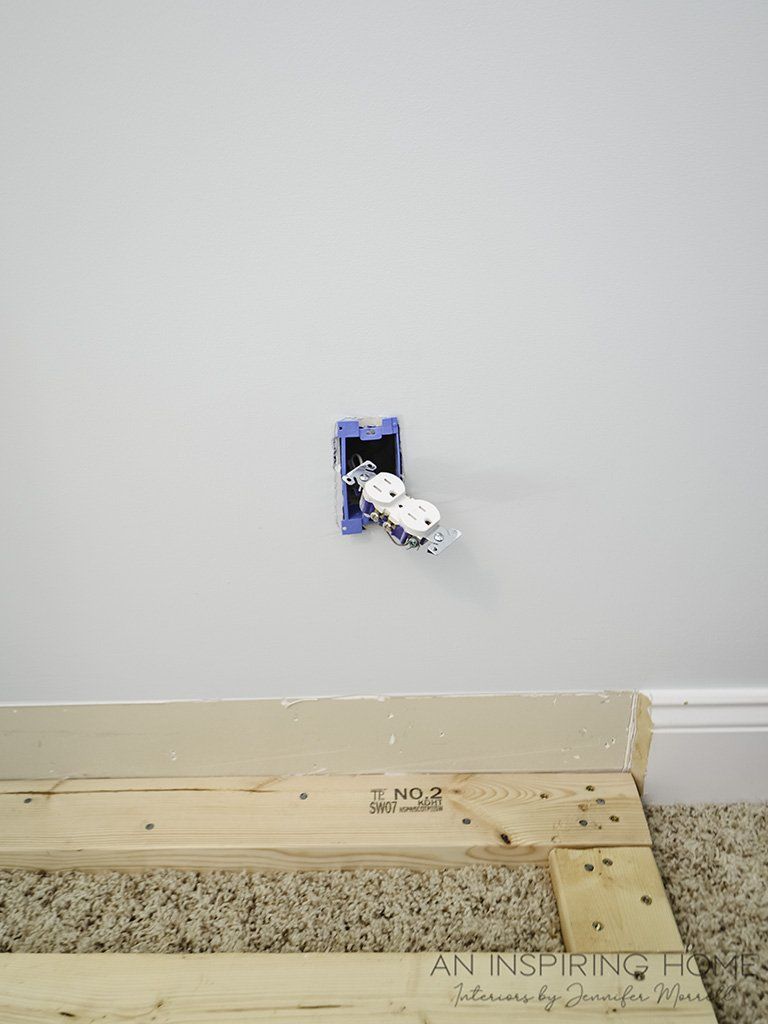
Using this tool, we cut out the baseboard along the wall where the bookshelf is going. Remember to measure first! My husband bought this tool specifically for this project, and he said it worked so well.
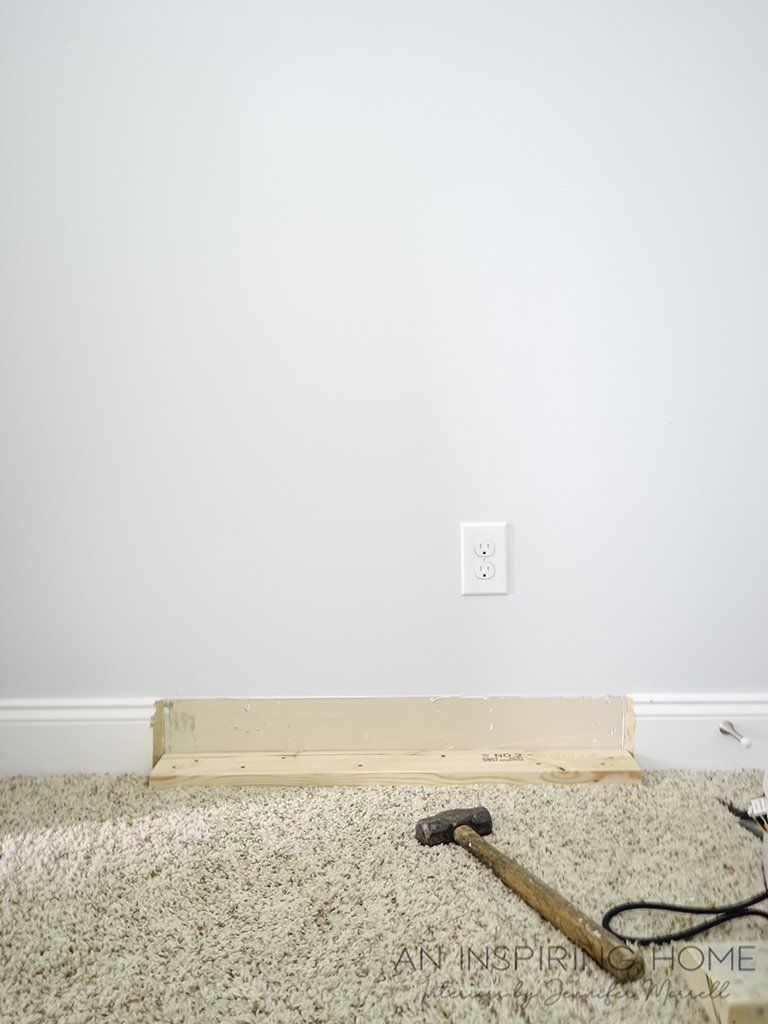
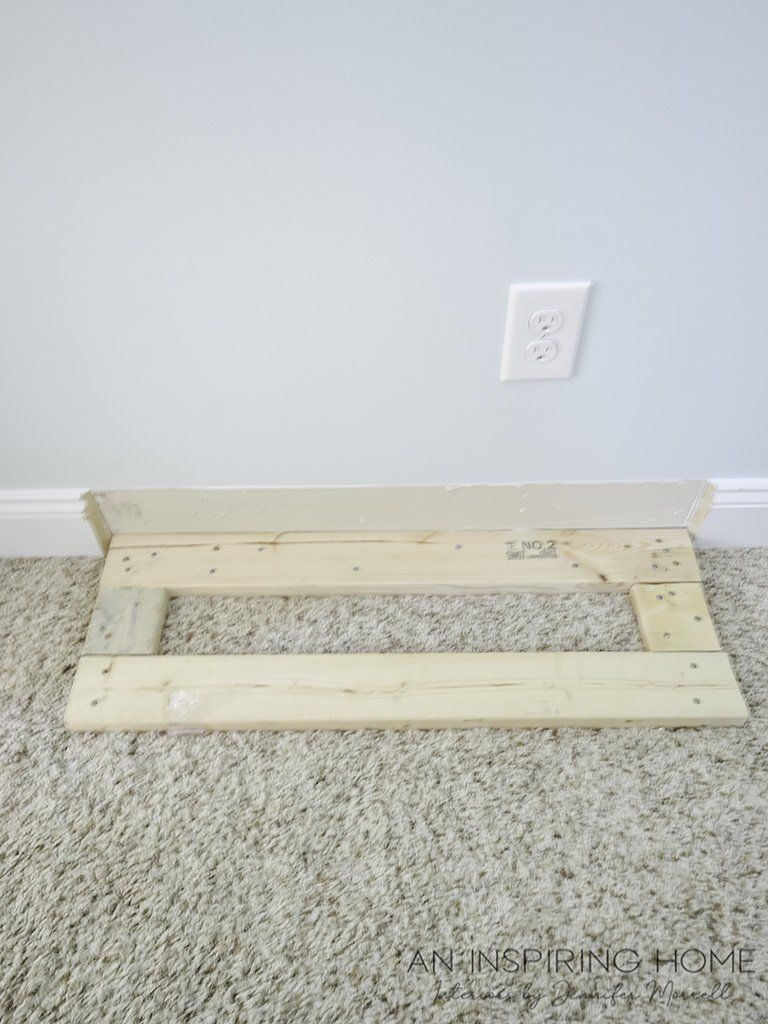
Next, you’ll want to build a base using 2x4s so that your bookshelf sits at the height of your baseboard. Build the base the same dimensions as your bookshelf and secure it to the floor. This will give it a custom look.
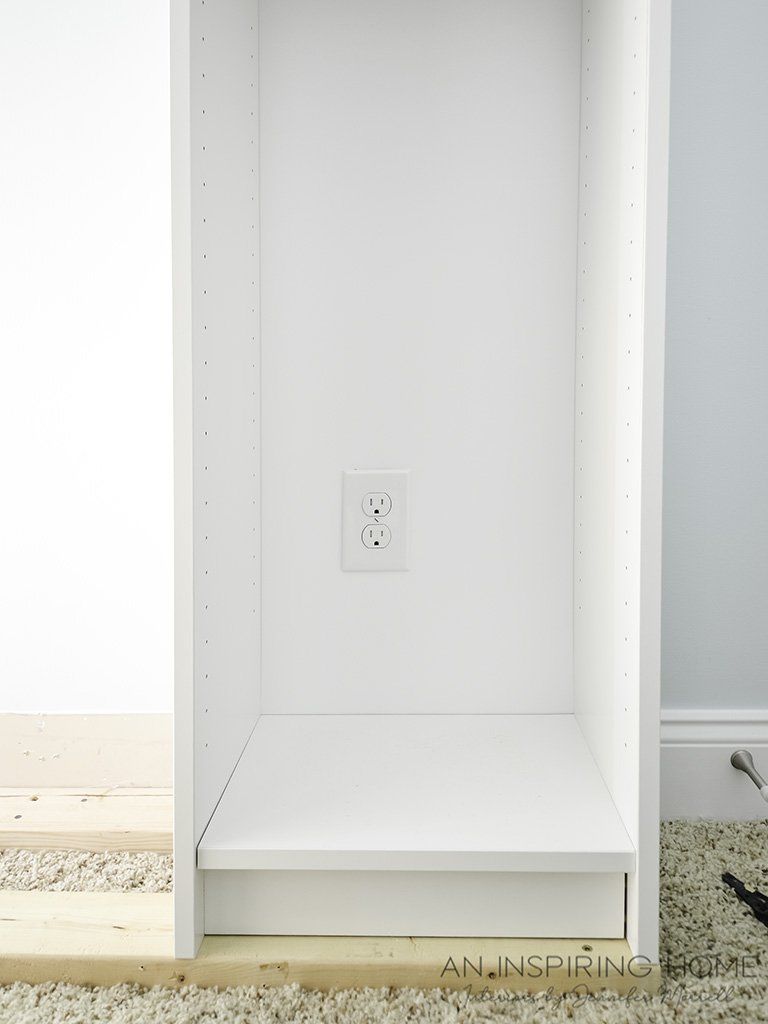
If you have any outlets you want to have access to, measure and cut out an opening in the back of your bookshelf. Then use an outlet box extender to help secure your outlet on the inside of your bookshelf.
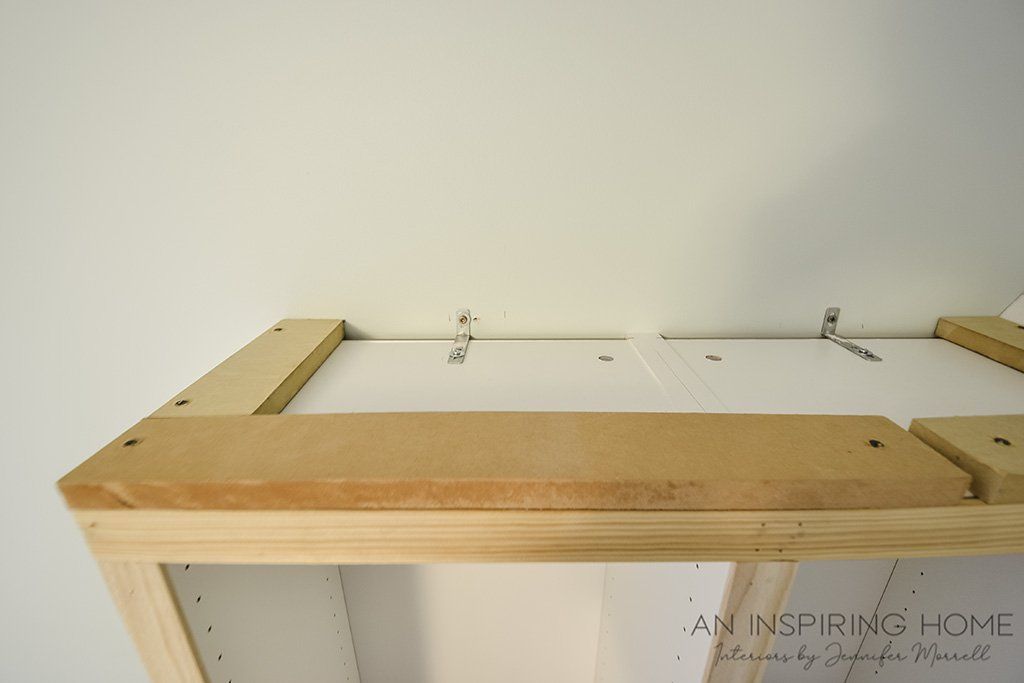
Don’t forget to secure your bookshelf to the wall. IKEA provides brackets for this, but don’t worry, they won’t be seen.
Here is a look at the top of the bookshelf. We attached crown molding to the outside of these boards mounted to the top.
Attach your baseboard to the base that you built for your bookshelf. You will probably have to buy some extra baseboard, so take a piece that you cut to your local hardware store and match it.
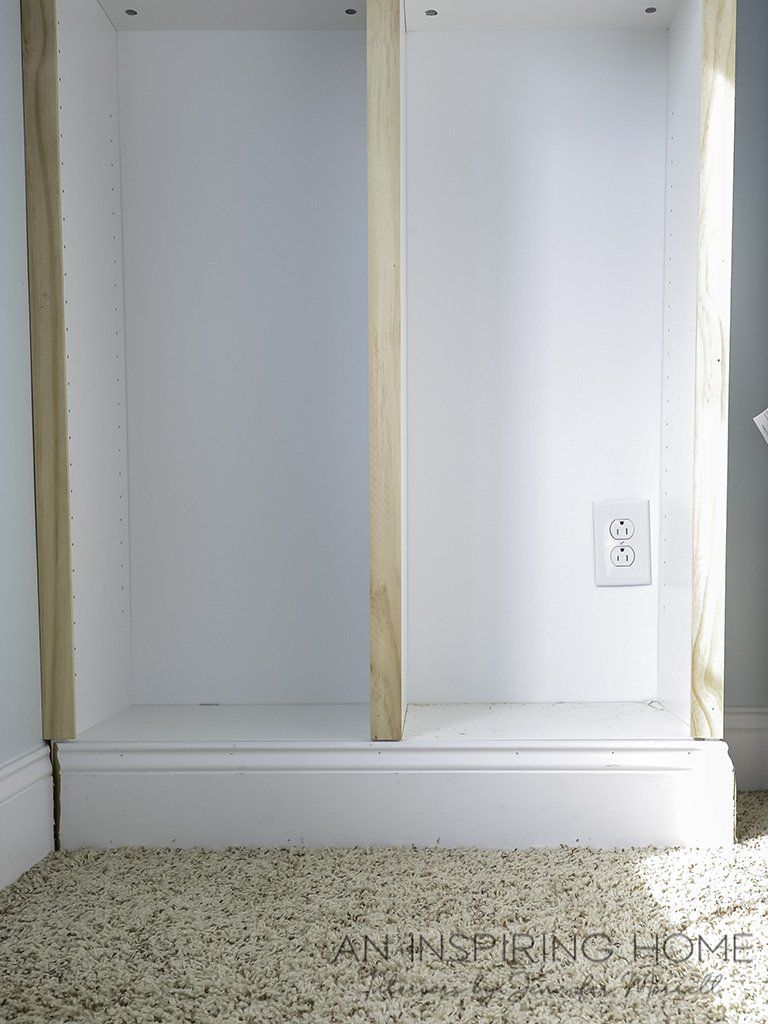
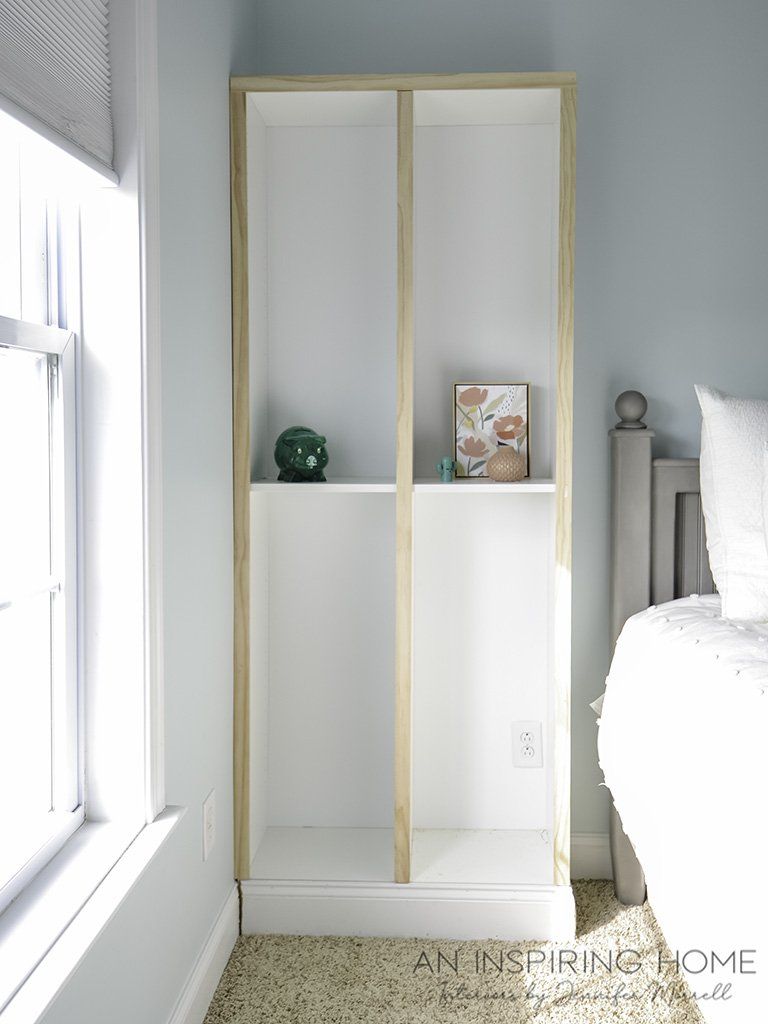
I like to use lattice wood strips to also give my bookshelves a custom look. We attached a piece at the top, down the middle, and on each side.
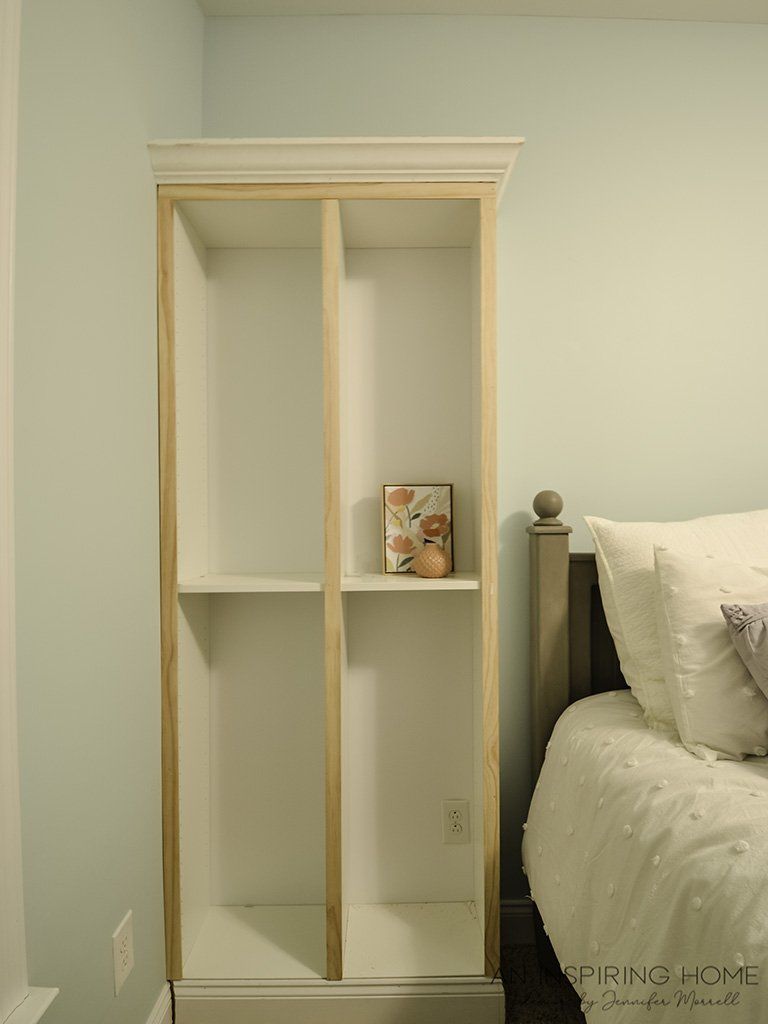
My last tip for creating an easy DIY built in bookshelf is to add some crown molding. This really gives it a custom look.
You will have to excuse some of these photos taken at night with the lights on, and so the coloring is off.
At last, you will want to caulk, fill in any gaps in your molding with wood filler, and paint. Are you ready to see this all finished?
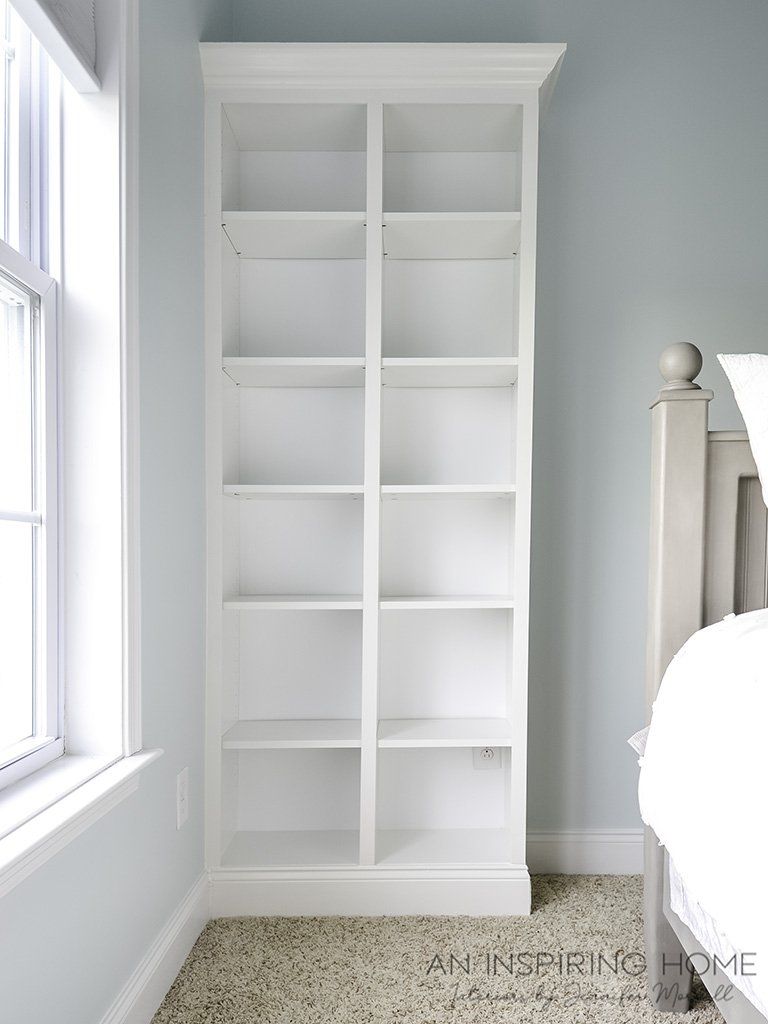
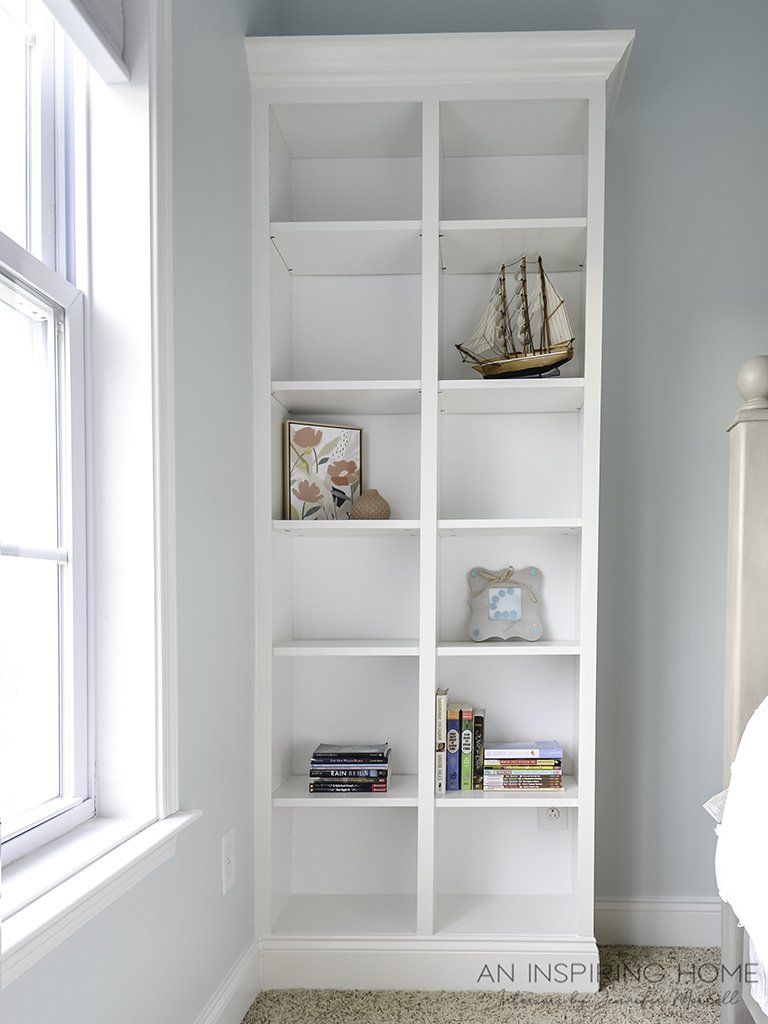
What do you think? Of course, the rest of the shelves are the ones IKEA gives you and are super easy to install, and they’re adjustable too. Here it is again with a few of my daughter’s accessories.
Thanks for joining me today! I can’t wait until the FINAL REVEAL next week where I will be adding ALL of the finishing touches to this room. I cannot wait. Leave me a comment below telling me what you think of this bookshelf!
See more One Room Challenge participants!
Tween Bedroom Makeover – One Room Challenge
- Tween Girl Bedroom Makeover – Week 1
- One Room Challenge Tween Bedroom – Week 2
- How to Design a Kids Bedroom that Grows with Them – Week 3
- How to Paint a Bed with Chalk Paint – Week 4
- All About Plug-in Wall Sconces – Week 5
PIN IT FOR LATER!
What’s your design style?
Find out what kind of interior design best suits your inner self. From Transitional to Modern, it's time to make your home a place you’ll love!
You can opt-out at any time. Please note we do not share your information with anyone.

I work with busy families to create beautiful and functional spaces by providing local design services in the Charlotte/Waxhaw area and beyond through online design.

What’s your design style?
Find out what kind of interior design best suits your inner self. From Transitional to Modern, it's time to make your home a place you’ll love!
You can opt-out at any time. Please note we do not share your information with anyone.

Recent Posts