I decided since I can’t go into my clients’ homes at the moment, I can tackle a project or two of my own at home. I will show you how to get the biggest bang for your buck at home. It’s quite simple.
I painted my kitchen. It took me 2 days with plenty of breaks. I think I’ve heard it called the 7-year itch? Yes, it had been about 7 years since I painted my kitchen, and I’m so glad I did!

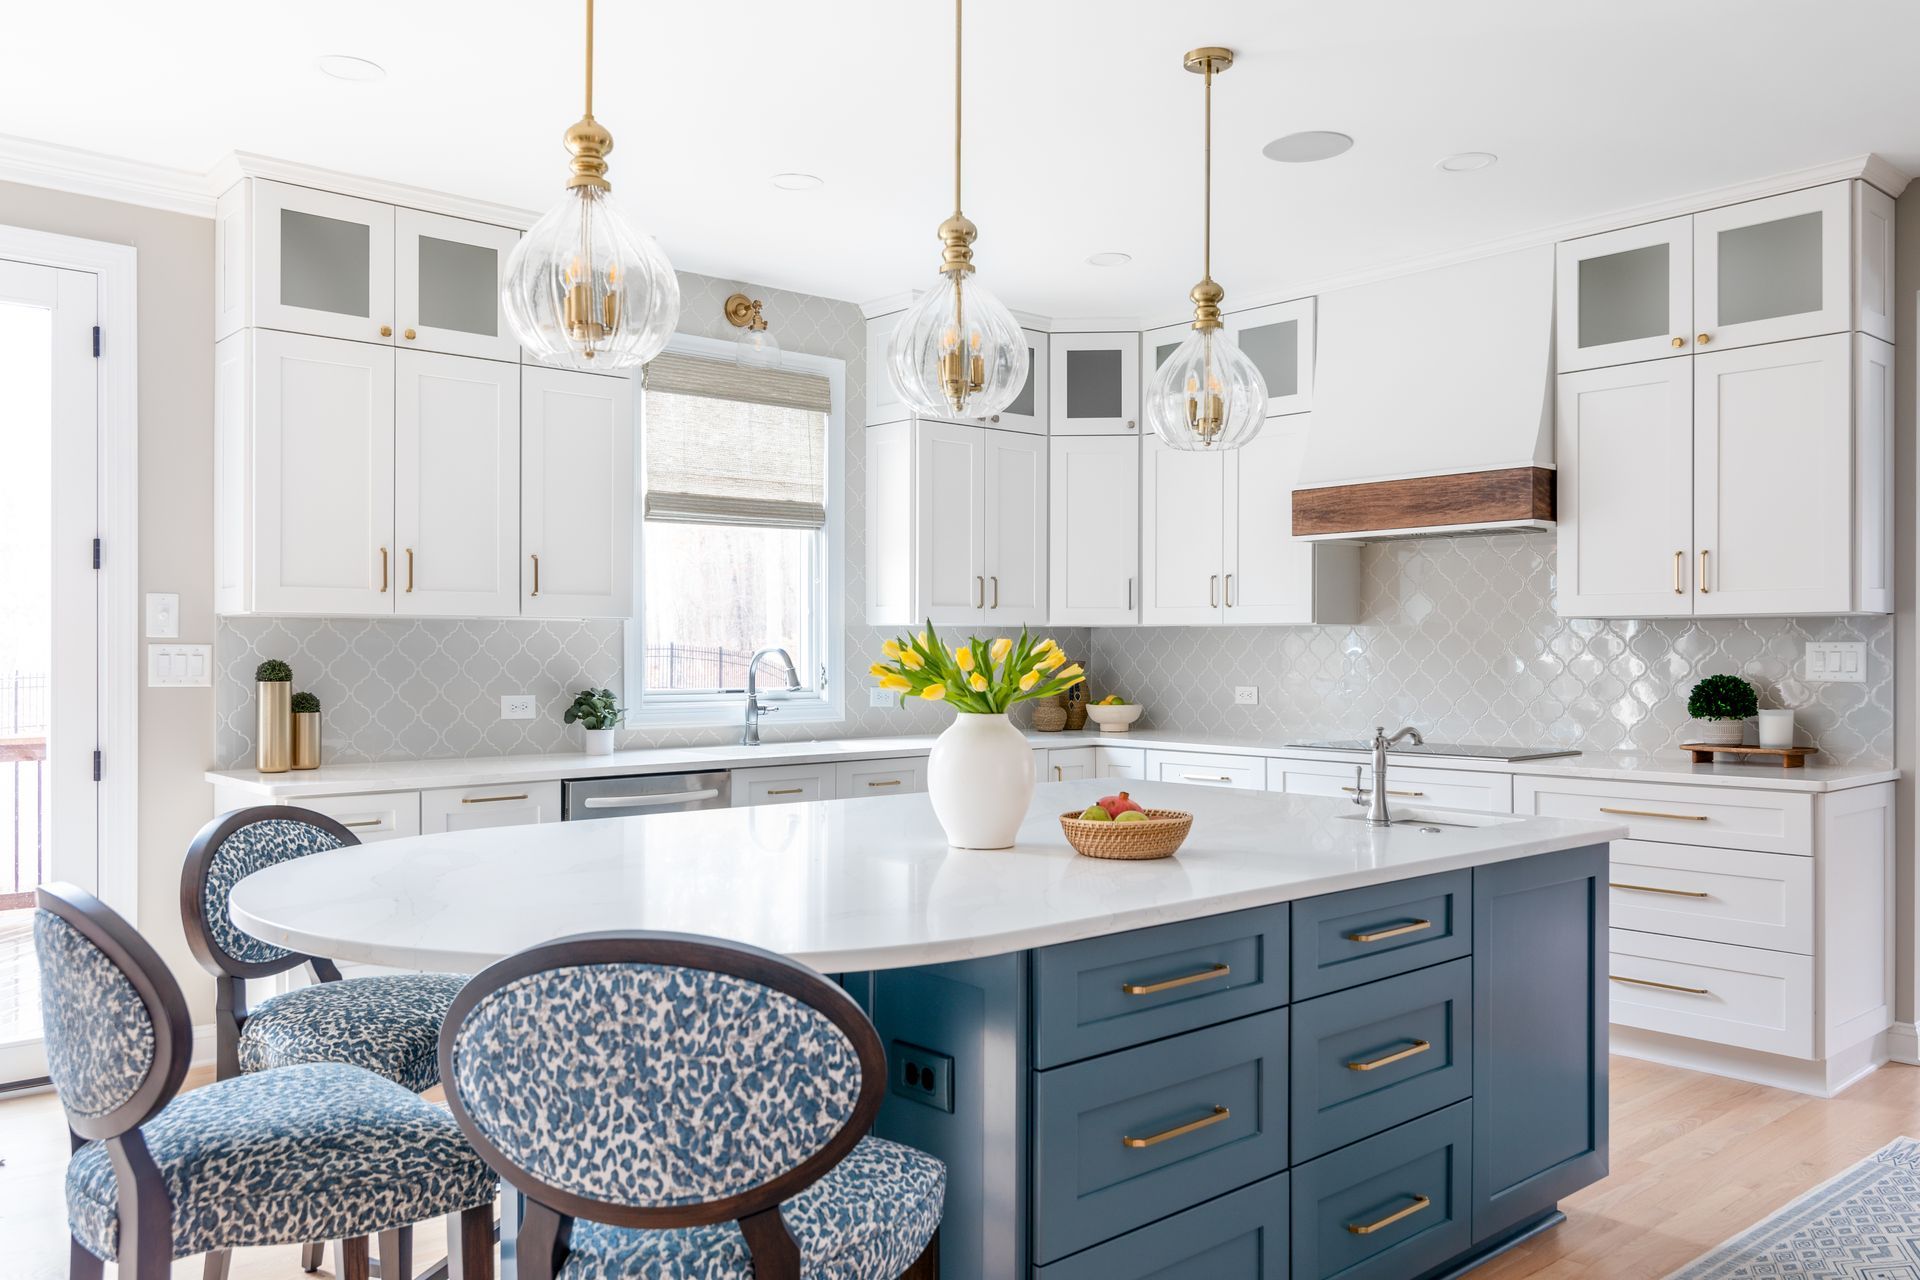
Here is a before shot and you can see more kitchen pics in the secret to keeping your kitchen counter clean. The original color wasn’t bad at all, but it was time to lighten and brighten. See more pictures in my spring home tour.
Let me walk you through my process along with some pics, and then you can see the reveal at the end. Sorry for the grainy iPhone photos.
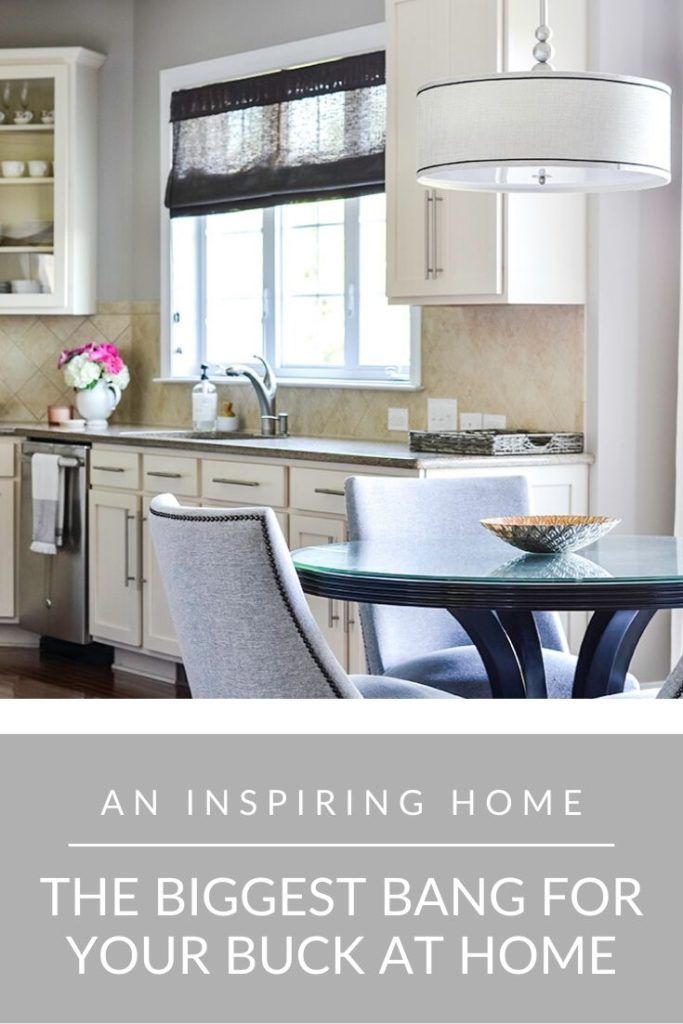
THE BIGGEST BANG FOR YOUR BUCK AT HOME DAY ONE
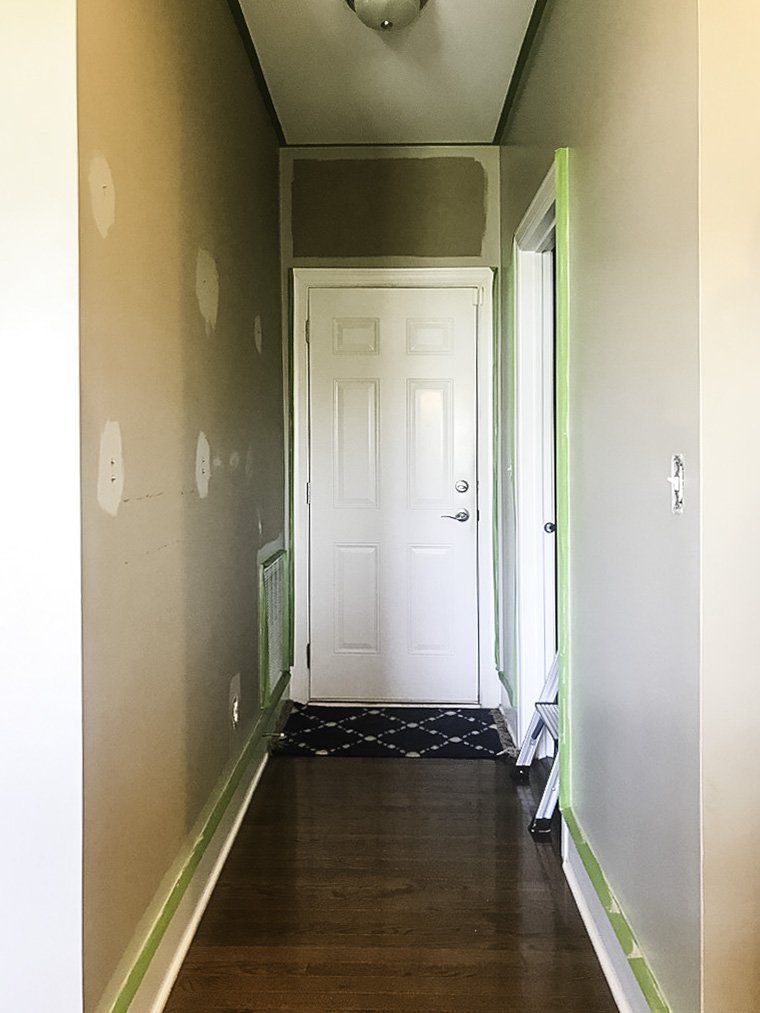
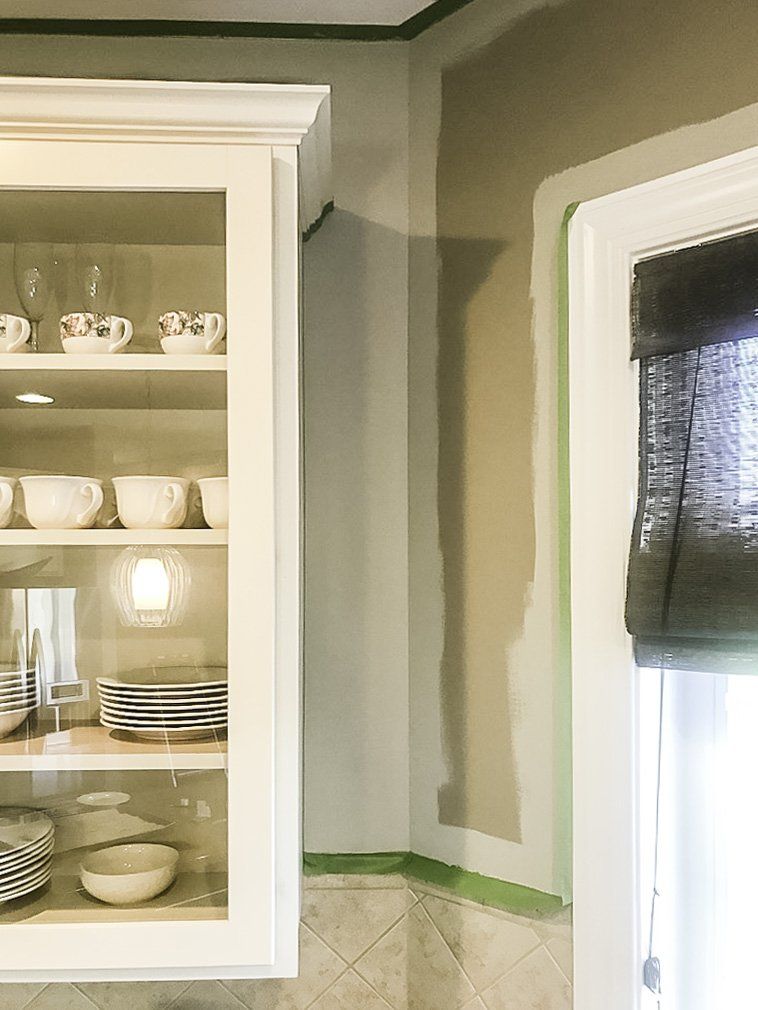
On day one I prepped my space. First, I took down everything from the walls including light switch and outlet plates, pictures and drapes. Then I filled and patched any holes I no longer needed. Next, I cleaned the baseboards and tops of cabinets and anywhere else that needed it.
*some affiliate links included
The next step is to tape. Using Frog Tape I masked off all the baseboards, door & window trim, cabinets, backsplash and ceiling. The tape prevents any leaking from the paint, and I find I always get a clean paint line with Frog Tape.
THE BIGGEST BANG FOR YOUR BUCK AT HOME DAY 2
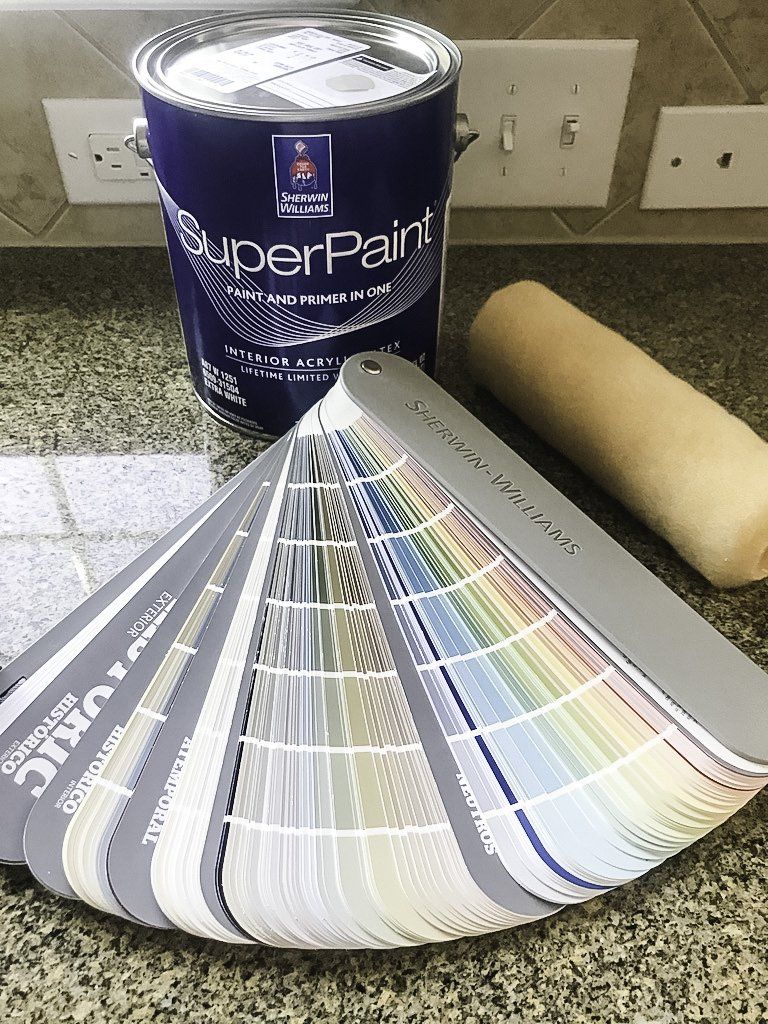
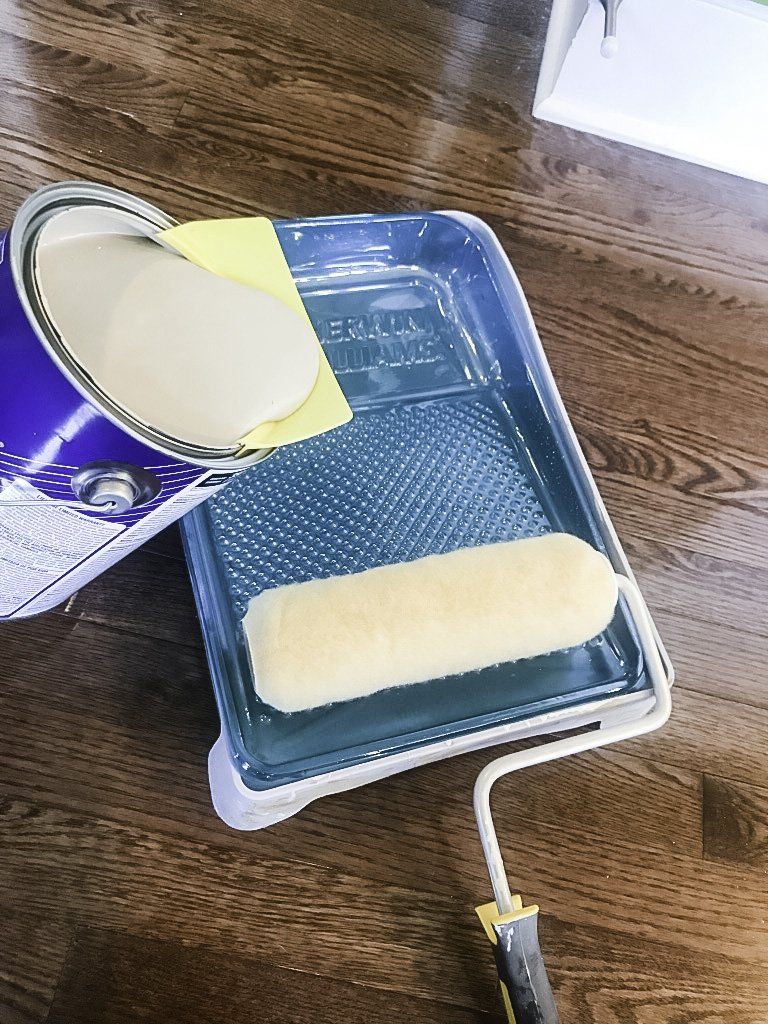
Now I’m ready to paint. I ordered my paint online and picked it up at my local Sherwin Williams, and they even brought it out to my car. All of the other supplies I had on hand. Here is my list of paint supplies.
- Paint: I like Sherwin Williams
- Tape: I like Frog Tape
- 2 1/4 angled brush
- paint tray
- paint tray liner
- screwdriver: for taking things off the wall
- drop cloth, if needed
- paper towels to have on hand
- paint roller: I like this one for it’s comfort grip
- roller cover
Now that I’m ready to paint, I stir it thoroughly and then pour into the paint tray. These liners are the best since you can throw them away when you’re done painting. I start by doing the brushwork along the baseboards, trim, and anywhere else I can’t get to with a roller.
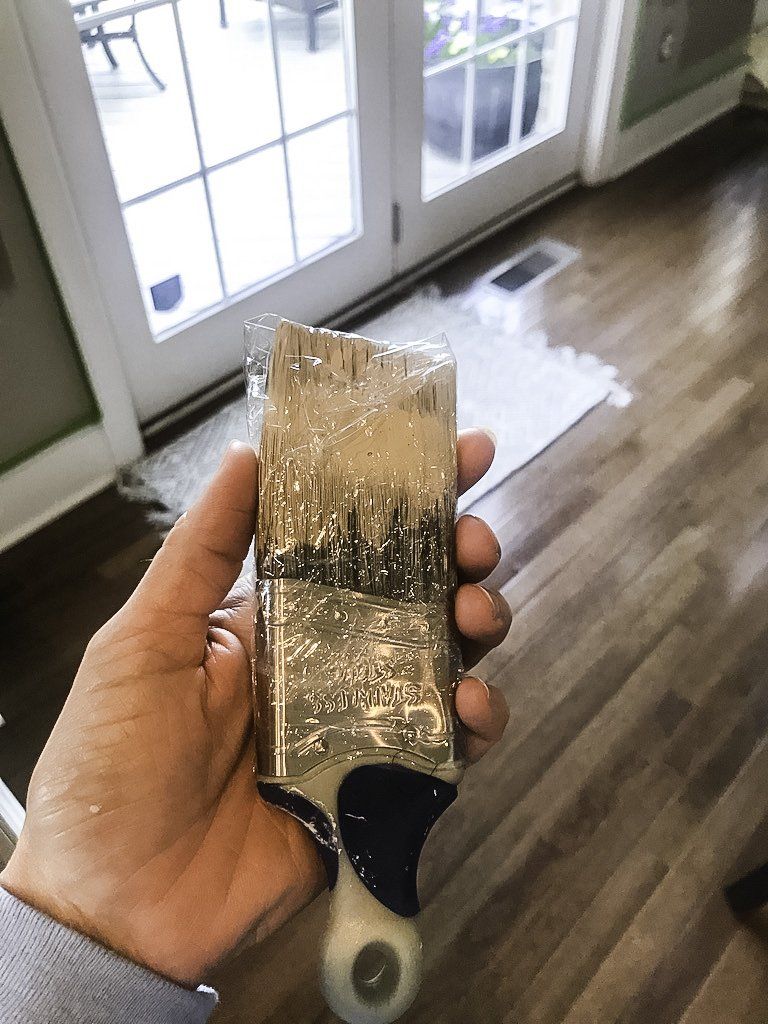
This is my favorite little paintbrush. It’s easy to hold and fits nicely into the palm of my hand.
PAINTING TIP
If you need to take a break for a day or two, wrap your brush and roller in plastic wrap then put in the fridge to keep from drying out. It’s ready for you to use when you are!
The next step is rolling on the paint, which goes pretty quickly once everything is done. Prepping always seems to take the longest next to the brushwork. Since I was using a paint and primer in one, I only needed one coat. Fantastic!

I think the most satisfying part is pulling off the tape. Then once everything is good and dry, which will depend on the temperature and humidity levels where you live, you can put everything back on the walls. Then stand back and admire your work!
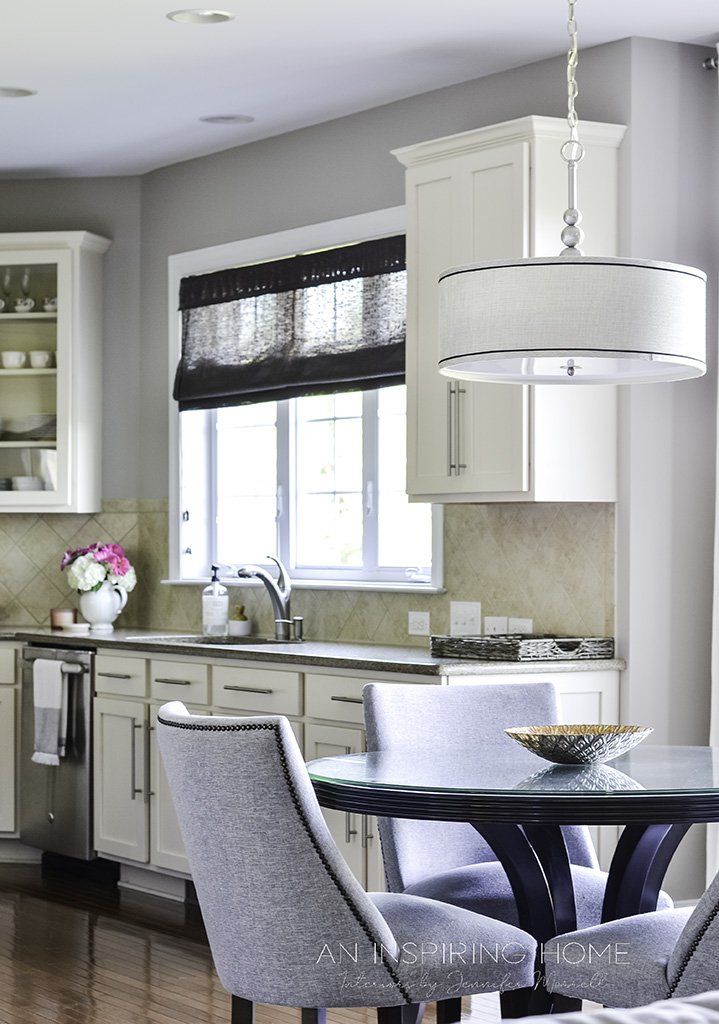
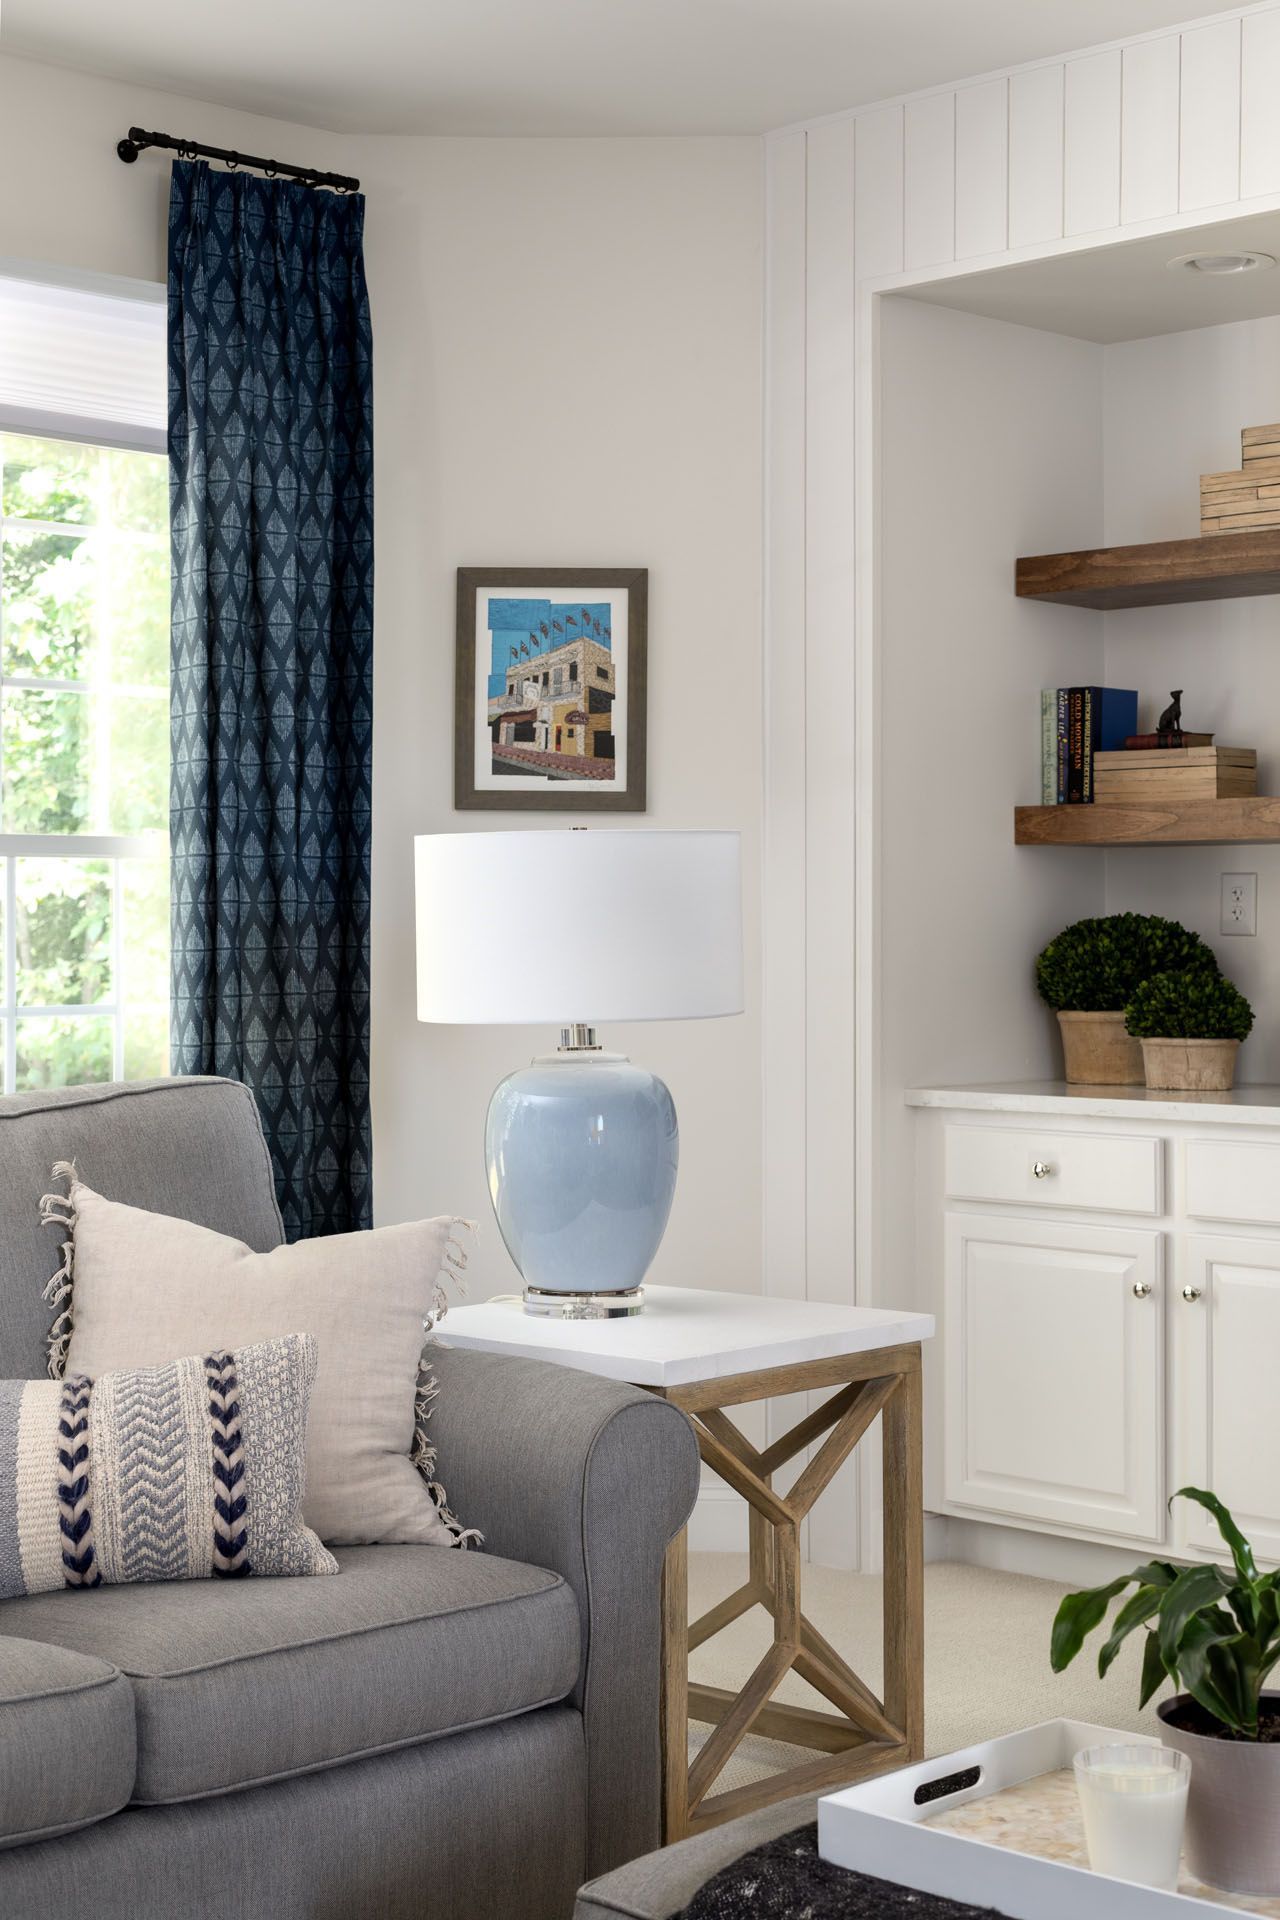
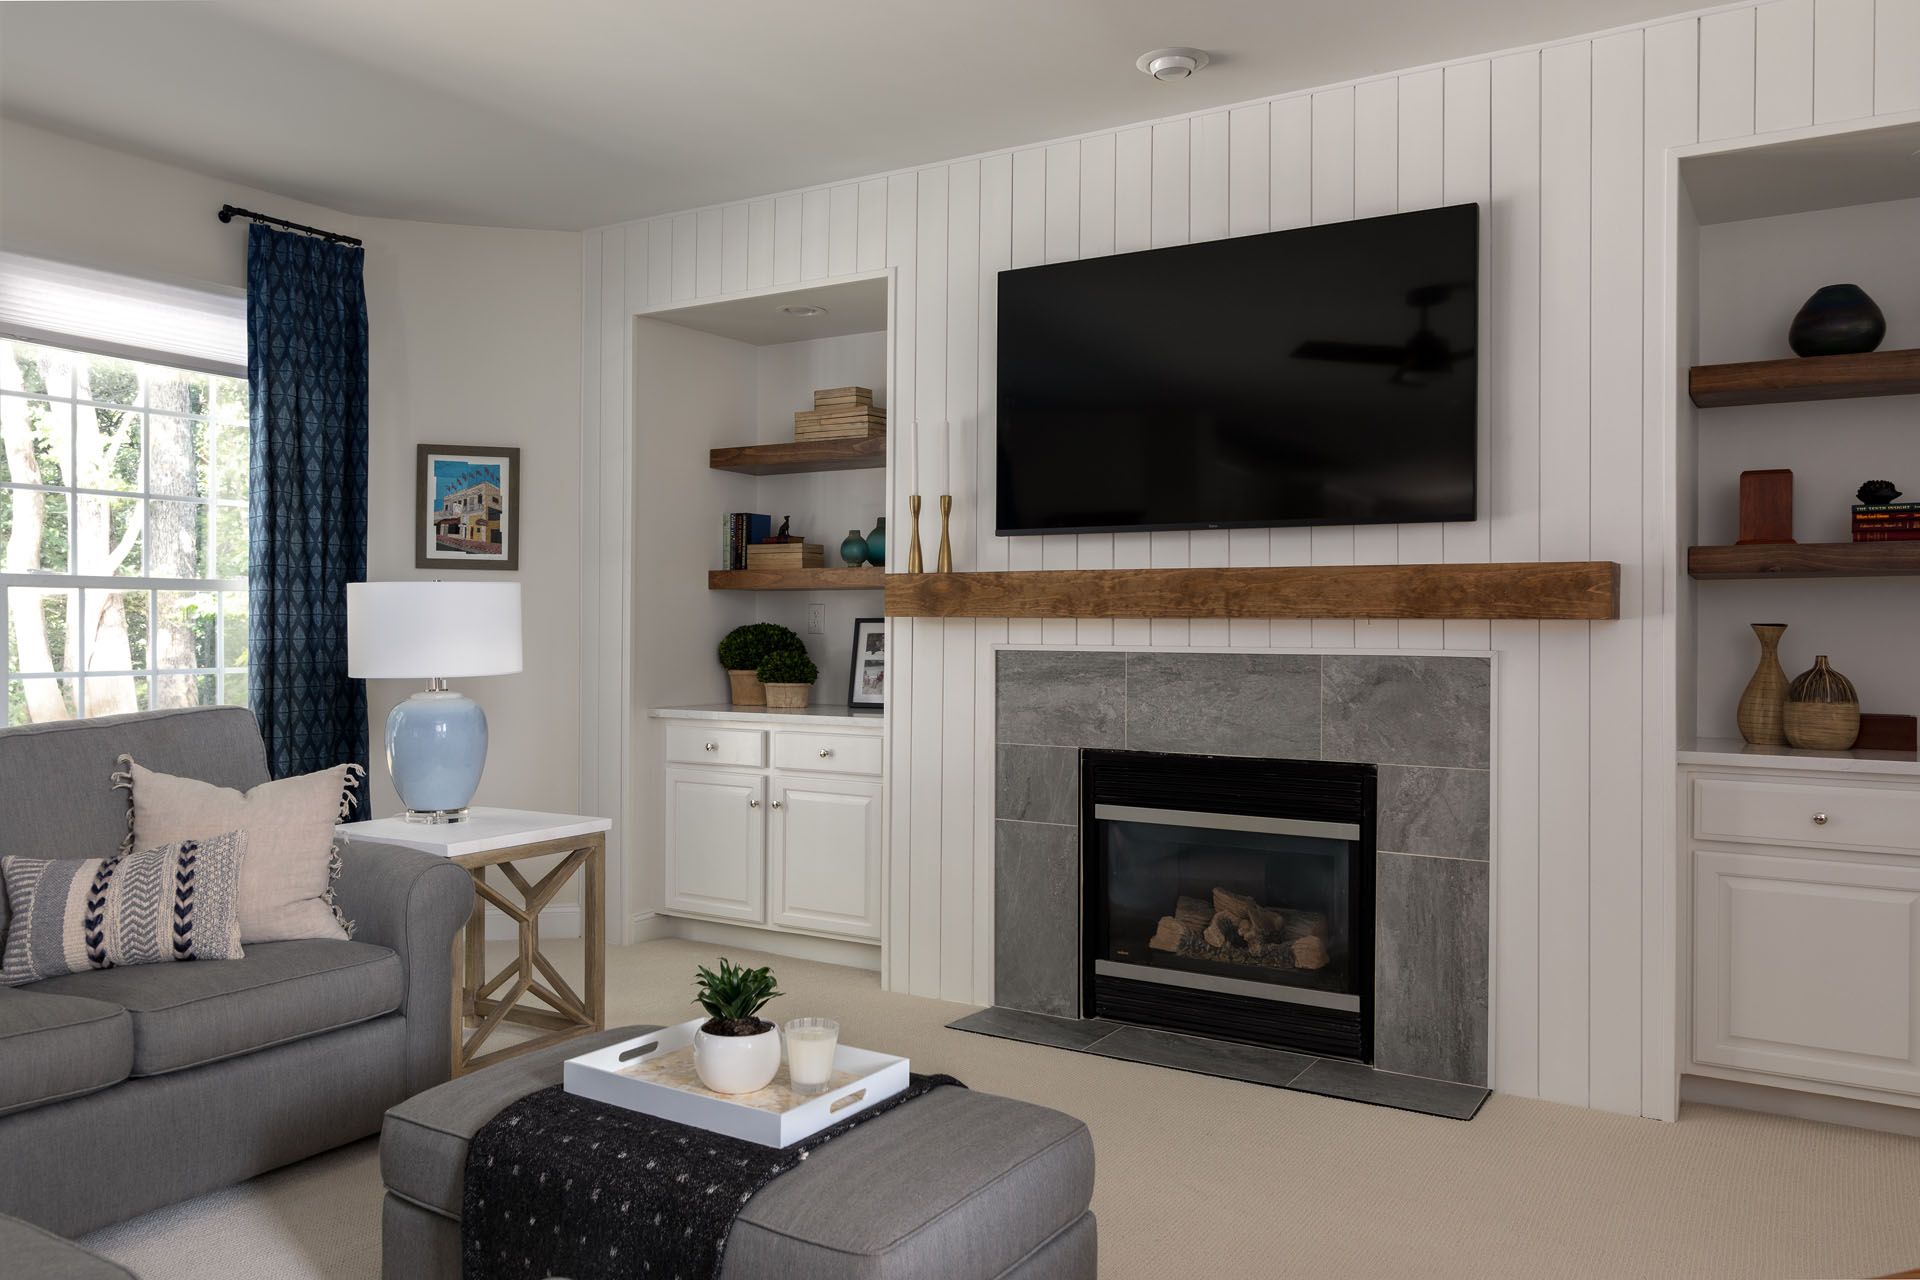
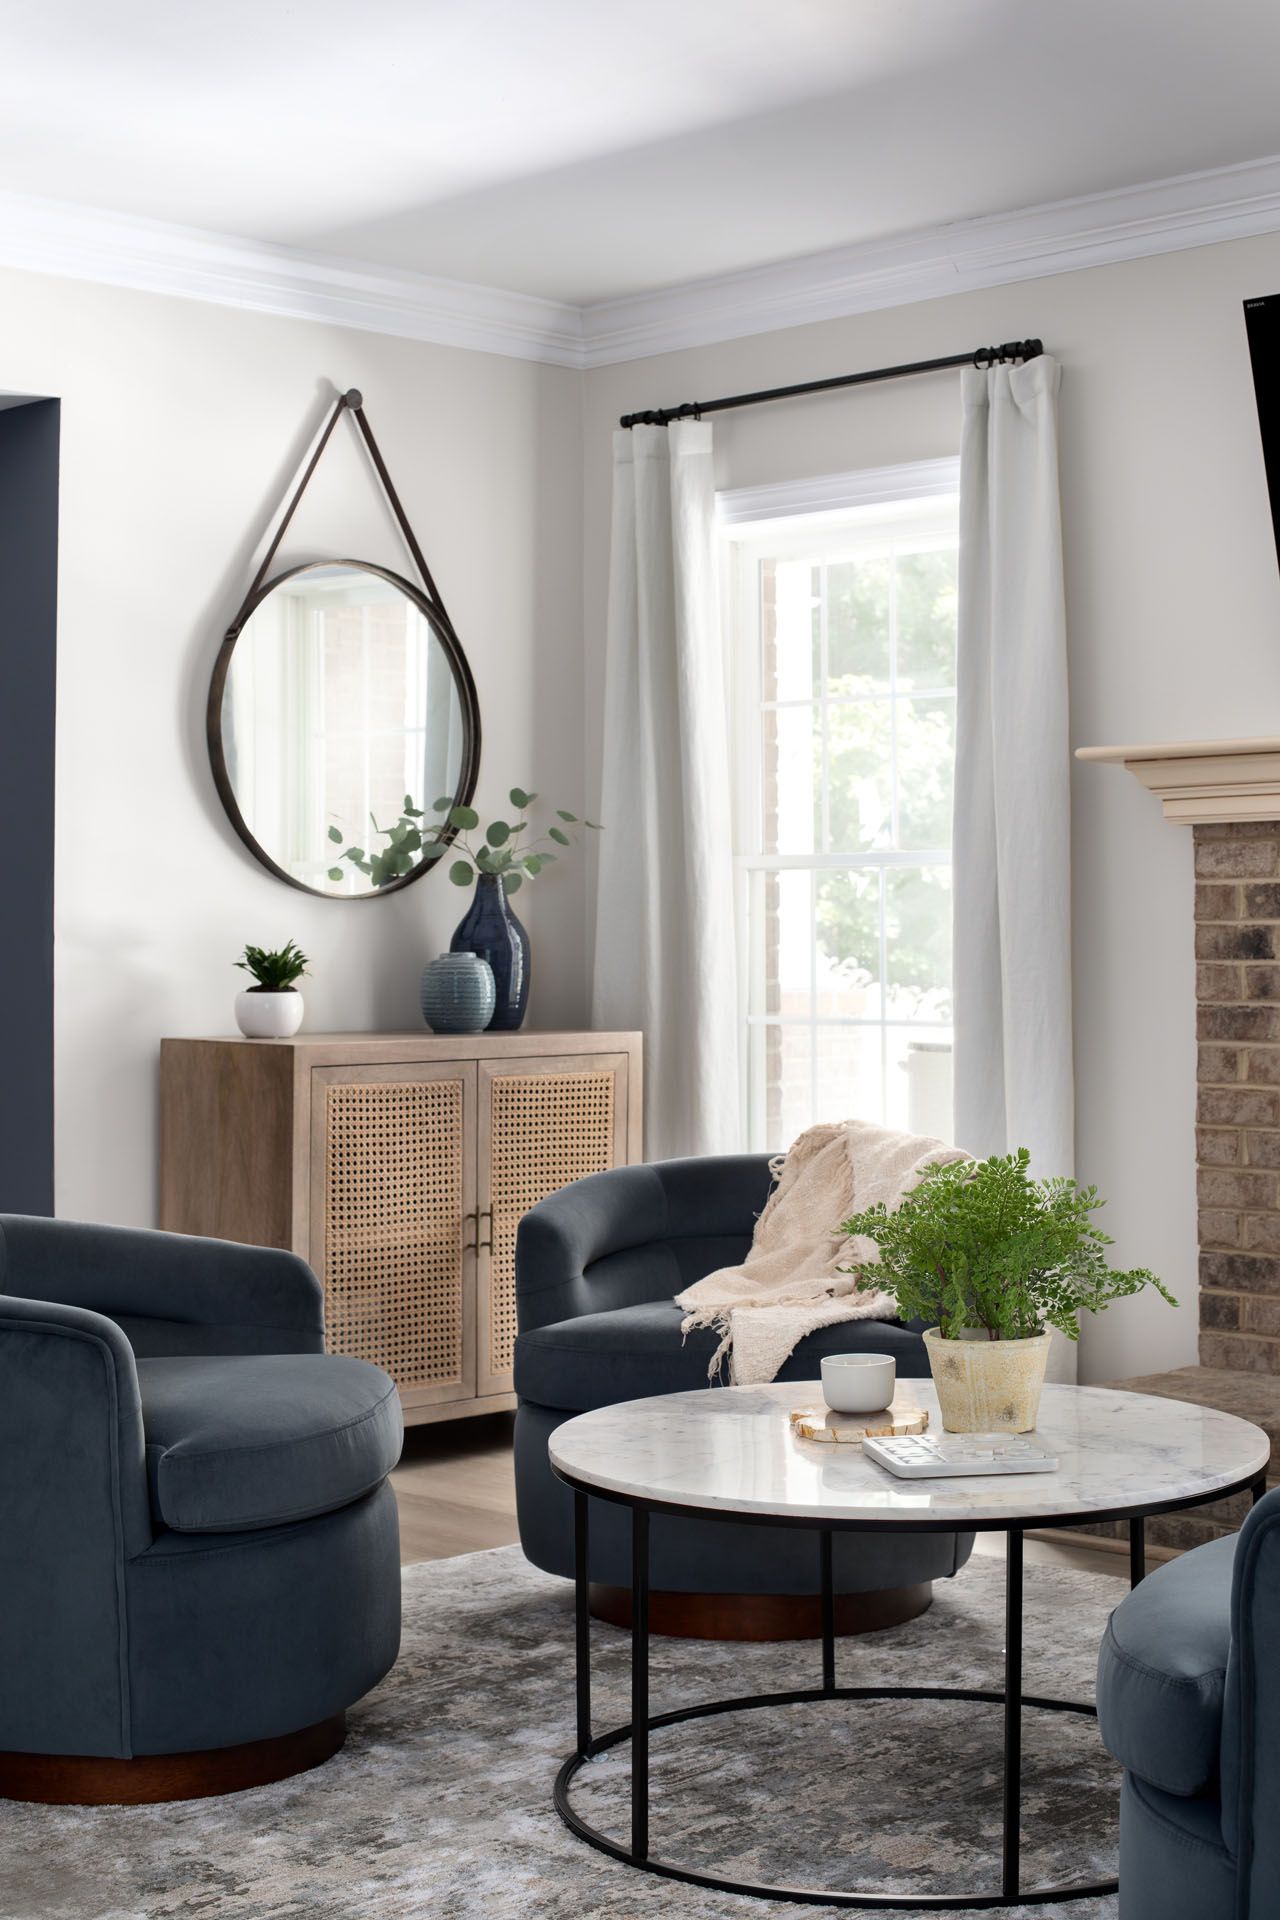
The color I chose is Anew Gray, which you can see more of in my spring home tour.
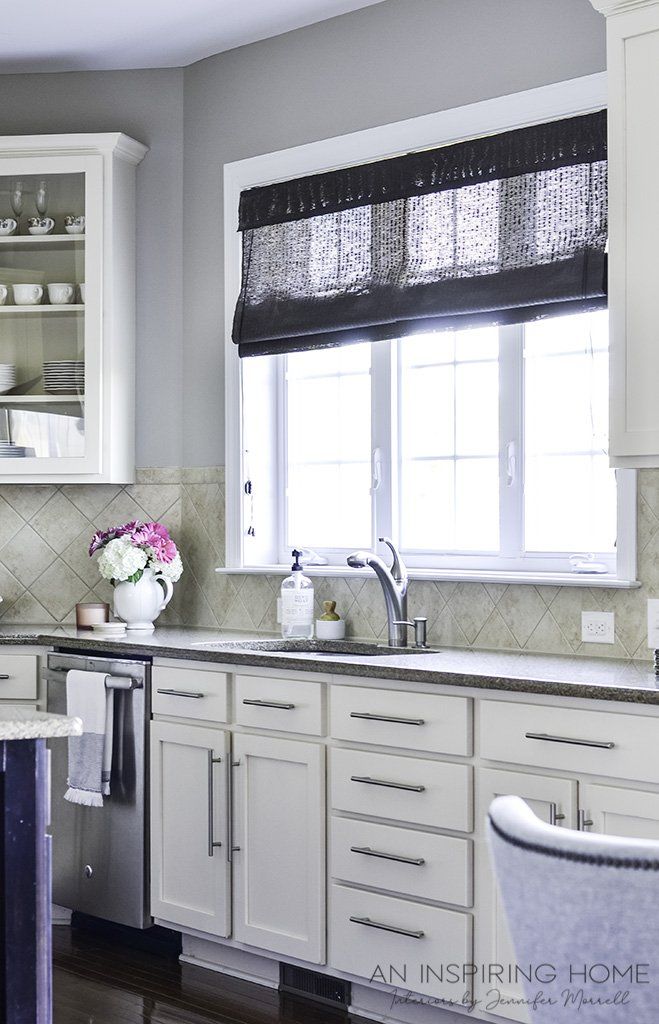
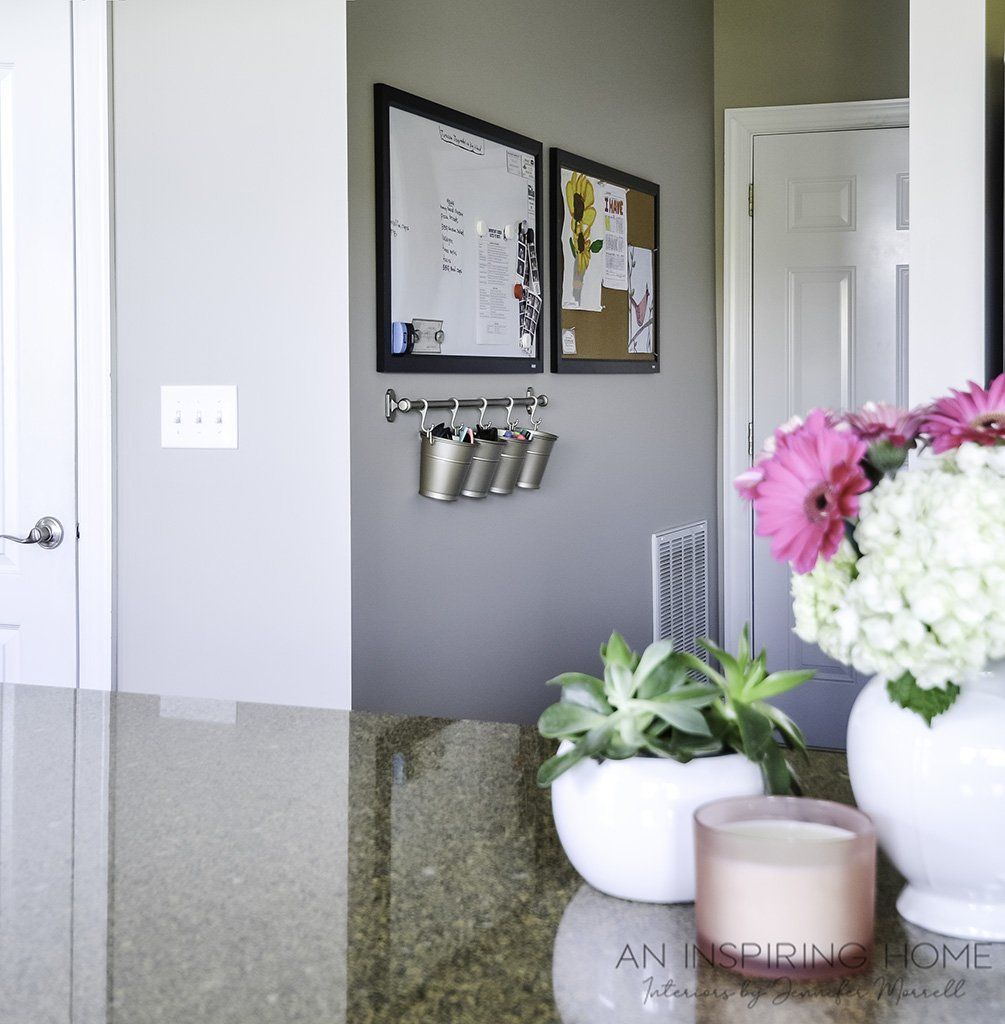
So much lighter and brighter! It’s amazing what one can of paint can do. Now, it’s your turn. Pick a room, any room and let me know what color you decide! It’s my number one way to transform a room!
PIN IT!
What’s your design style?
Find out what kind of interior design best suits your inner self. From Transitional to Modern, it's time to make your home a place you’ll love!
You can opt-out at any time. Please note we do not share your information with anyone.

I work with busy families to create beautiful and functional spaces by providing local design services in the Charlotte/Waxhaw area and beyond through online design.

What’s your design style?
Find out what kind of interior design best suits your inner self. From Transitional to Modern, it's time to make your home a place you’ll love!
You can opt-out at any time. Please note we do not share your information with anyone.

Recent Posts